Yes, yes… Me too! I completely understand you. As much as we would like to spend half an hour stretching and warming up our limbs before each session, as soon as the kite is pumped and the lines are done, the wind and water is calling our names. That urge overcomes us and all we want to do is launch our kite and hit the water!
Now, now, calm down! We are all guilty of it and you know it, even the most diligent and disciplined athletes are. But no matter how you put it, missing out on a pre-session stretching is a loss on your part. A big loss!
All it takes are 5 minutes – yes, that’s the minimum – but they always pay off. The longer you warm up, the better you will feel being out there! A long warm up session is always worth the effort. Even if it sucks and some might even feel uncomfortable and watched while doing it, you will know what I am talking about as soon as you are out there on the water having a blast with your well warmed up body.
Another excuse? What should I do? There are definitely thousands of stretching exercises out there but which one is the right one for you? Here are a few basic poses that I frequently do which help me a lot in my sessions. So spare yourself this excuse and start with that pre-session stretching, shall we?
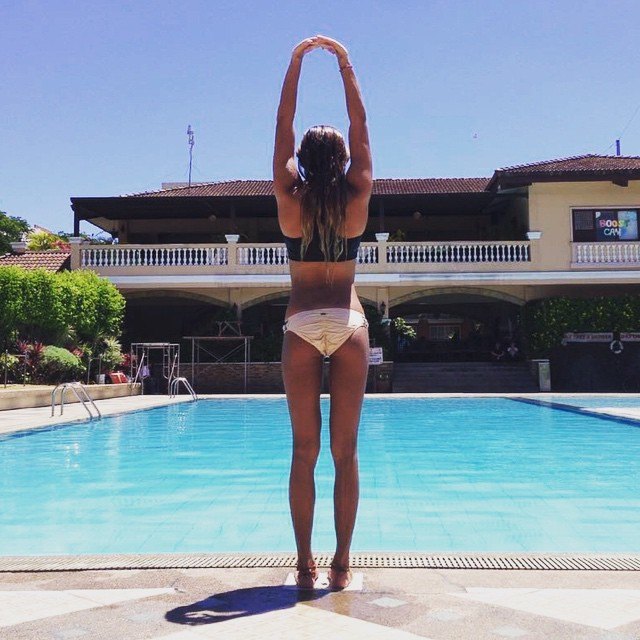
1. Standing Forward Bend
This Stretch is for me the most basic stretch you can do before and after each of your kite sessions.
Target areas: Lower back, Thighs and hamstrings.
Since we put a lot of pressure in our lower backs because of the harness, and even just maintaining an upwind position itself, gives a lot of strain on these areas.
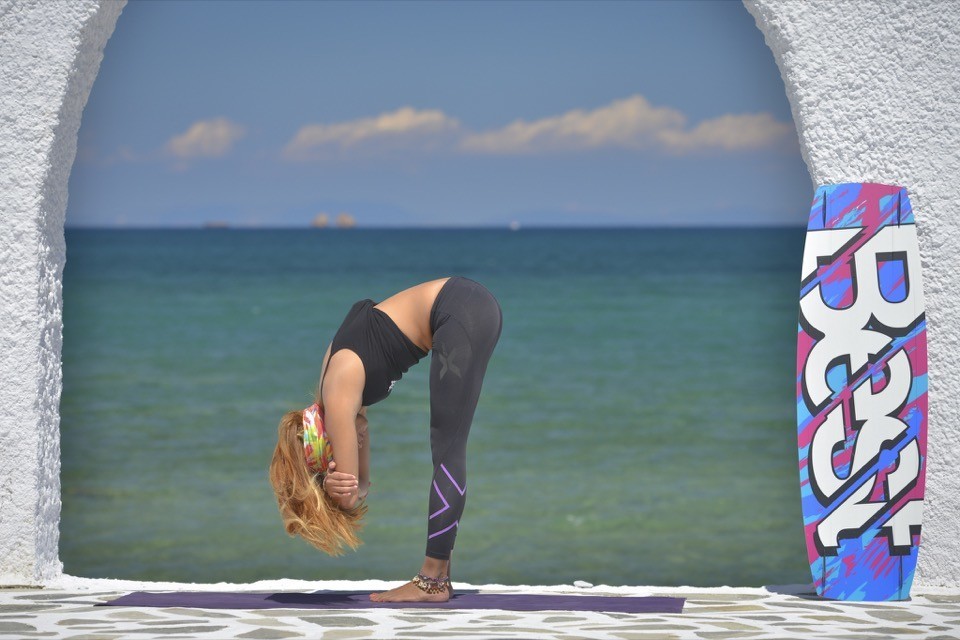
How to get to this pose?
Start with a normal standing position, with your feet hip width apart, MICRObend your knees as you slowly bend FORWARD and DOWN (from your waist). Stop when you feel that you cannot go any lower, stay here and let your head and neck hang heavy, lastly, hug your opposite elbows. The extra weight of your head stretches your entire neck and spine, giving your lower back an ease from all that weight it has above it when we are on a normal upright position. After a few seconds of holding your pose you will also feel a stretch on your inner thighs and hamstrings.
Remember to microbend your knee to avoid overstretching of your hamstrings. You can stay in this pose as much as 1 minute.
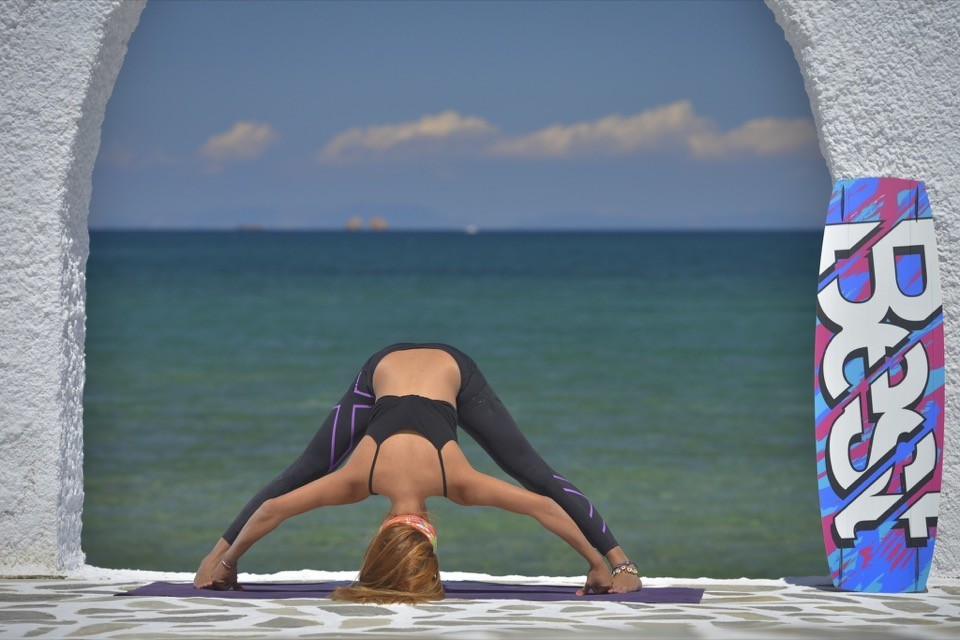
2. Wide Angle Forward Bend
Again from standing, put your legs a feet apart, make sure your feet are parallel to each other, microbend your knees and again do a forward and down bend, feel free to rest your head on the floor if applicable but do stay in a comfortable position to avoid overstretching. As an added stretch, clasp your toes with your index finger and stay here for 1 minute. Like the first stretch, the target areas of this stretch is your lower back, inner thighs, hamstrings and the extra wide angle position lets you open up your hips that are particularly helpful to stretch out your freestyle tricks. This pose also benefits your upper body by opening your shoulders with that extra stretch. Remember to get in and out of these poses slowly to avoid overstretching and sudden cramps.
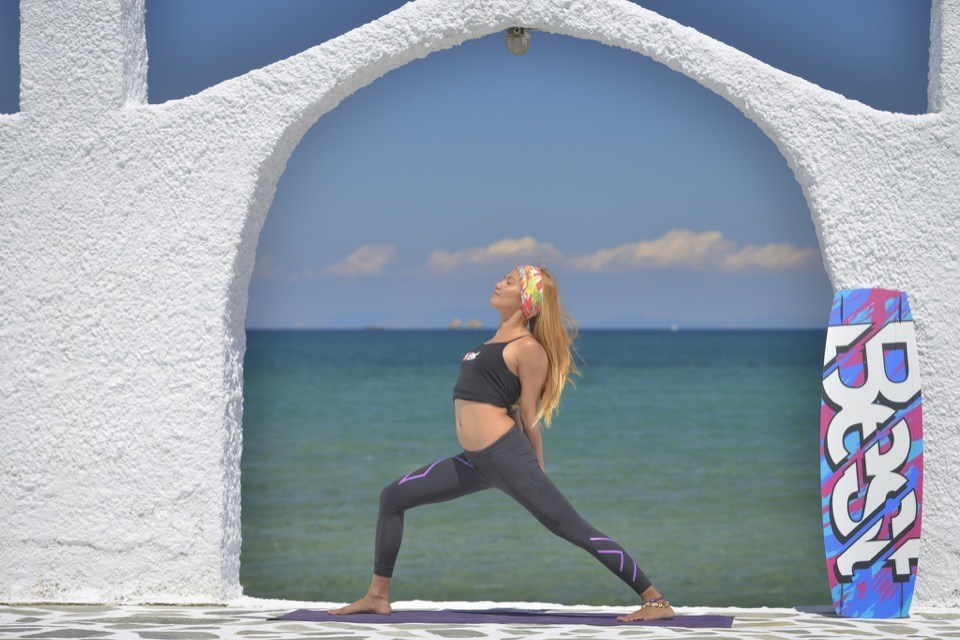
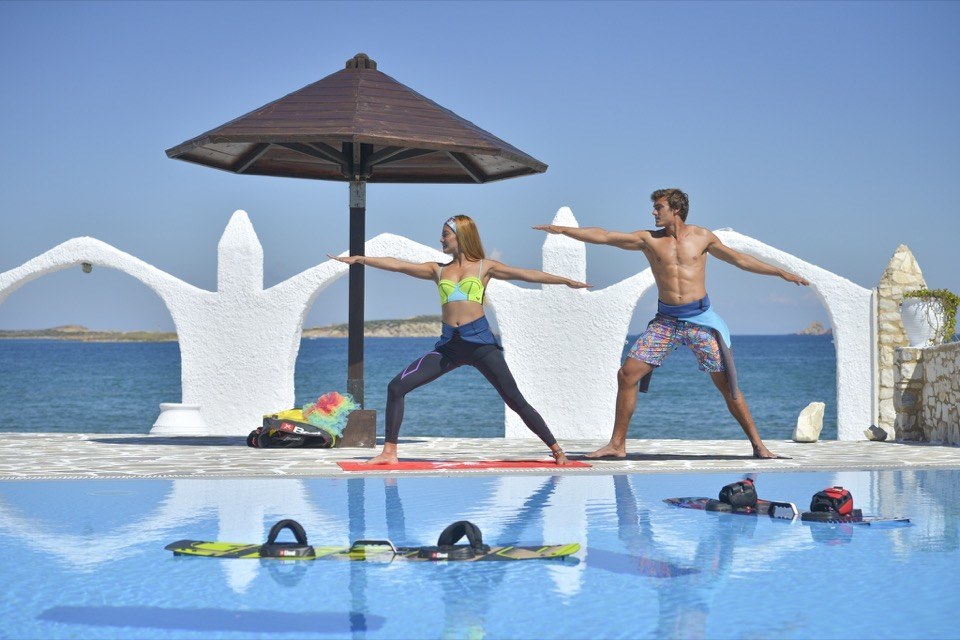
3. Classic Warrior 2 Yoga pose
To get to this pose, you can start with your legs a foot a part, your feet parallel, look to your right and straighten your arms up on either side, look to your right and when you are stable in this position SLOWLY bend your right (FRONT) knee, make sure that your knee is in the same level or doesn’t go beyond your ankle (as pictured here) to avoid overstretching. This stretch is targeted towards your knees and ankles, that for sure will take a beating especially if your kiting on choppy waters. Aside from that you are giving an extra inner thigh and hip opening stretch which is more targeted to the front or pelvic area. A special tip to not fall on this pose is to breath and gaze at the tip of your right fingertips, don’t forget to also do this stretch on the left side for balance.
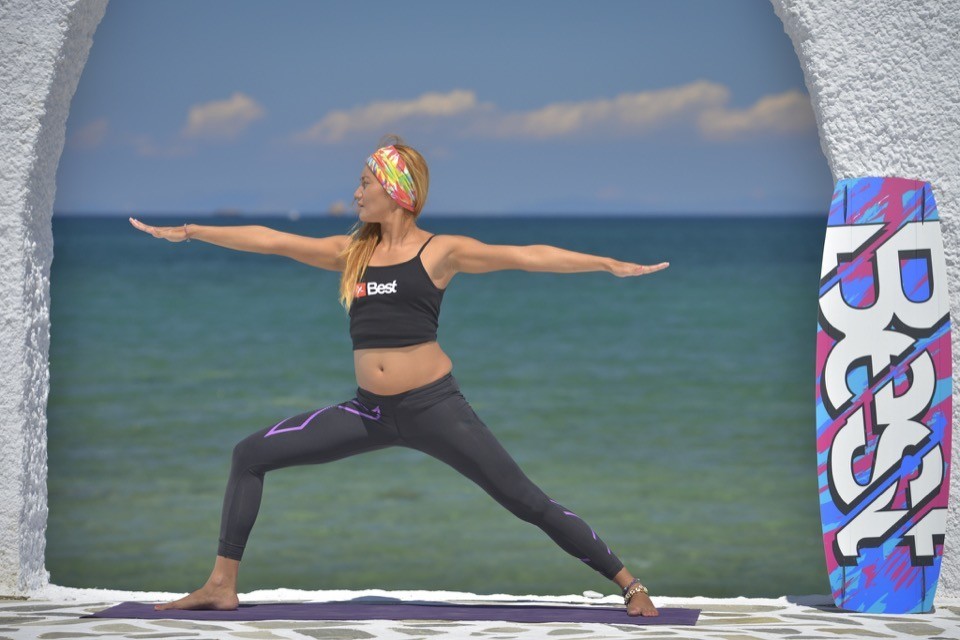
For those of you looking for an extra stretch, you can clasp your hands behind your back to open your shoulder blades and rib cage. Us kiters have this tendency to close in and collapse our shoulders especially those riders who love to go fast and overpowered on long sessions.
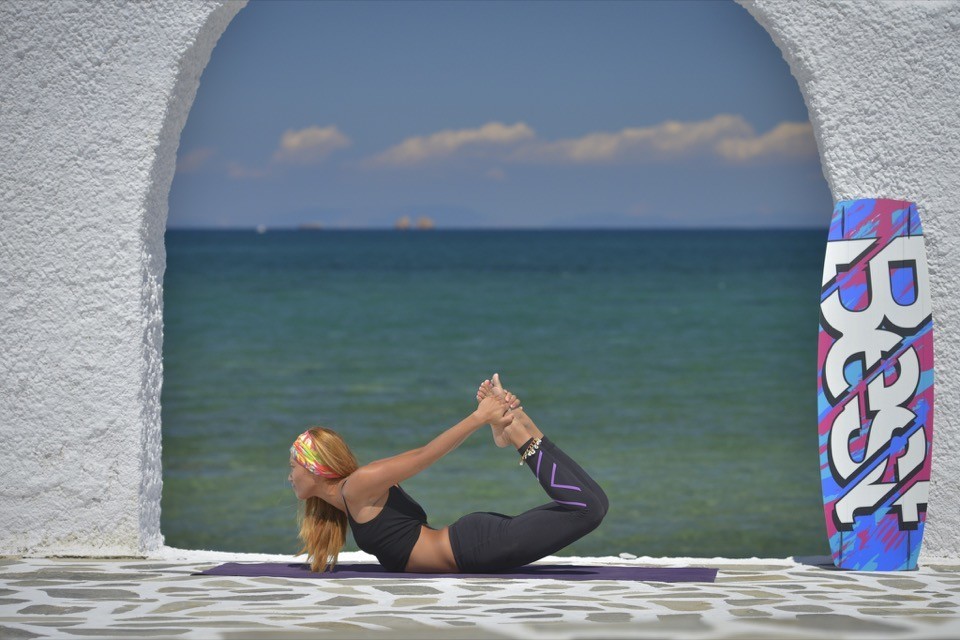
4. Reverse back bend or Upward Bow
For Those of us who love to go on long distance kite trips and racing, am sure your upper thighs and shins are very tired after your session. Stretching these areas will for sure give you an extra mile or two before you start feeling any discomfort or muscle strain. To get to this pose, lie on your belly, bend your knees and point your feet towards your buttocks, clasp your ankles and slowly kick your feet up.
This motion will eventually stretch your upper body up, you can stay here for 30seconds. On this pose, you are not just stretching your knees, upper thighs and shins but also opening your shoulder blades to open up your upper body.
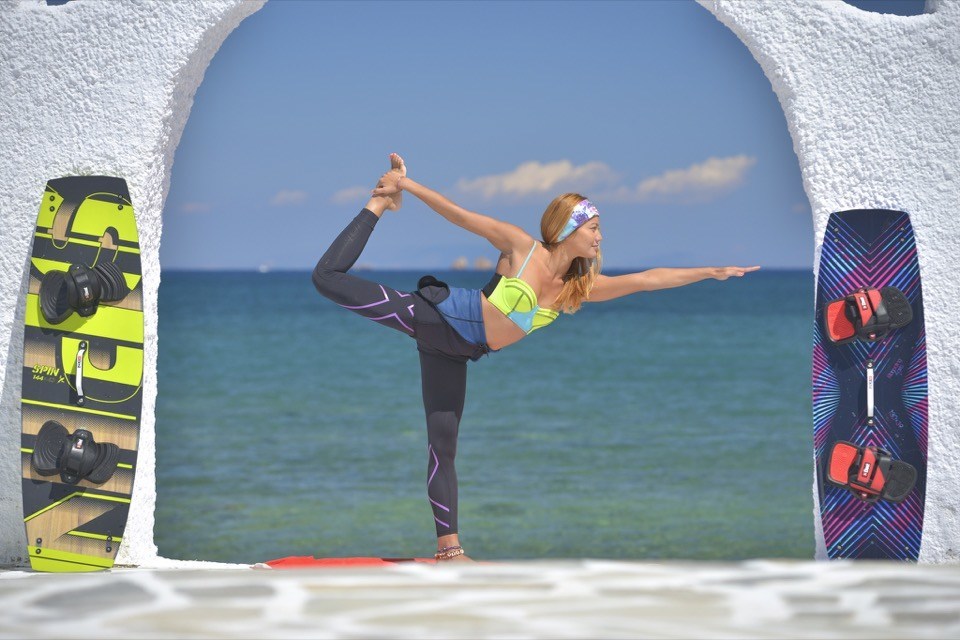
5. Lastly, finding balance.
Balance is an important element when you are kiting or in any sport. A good landing is as good as a good pop. This balance exercise is my favorite because it is progressive (as you get more flexible) and can be a lot of fun and modification (as you get your balance better) added to it.
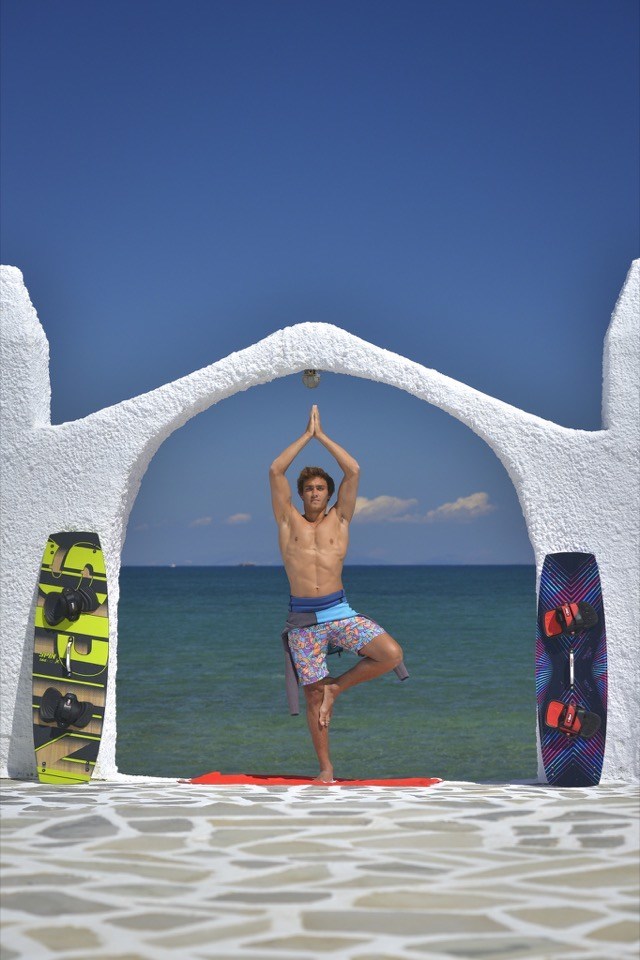
To get to this pose, put the weight of your body on one leg, lets start with the right. Slowly lift your left leg up and place your left foot on your right ankle (easy level); on your right knee (advanced); on your inner right thigh (intermediate); or on top of your right pelvis (lotus feet position). Let’s start with an easy entry level, your left foot on your right ankle and stay balanced for a minute, as your progression gets better you can slowly raise your foot on the leg higher and higher to improve your stability skills.
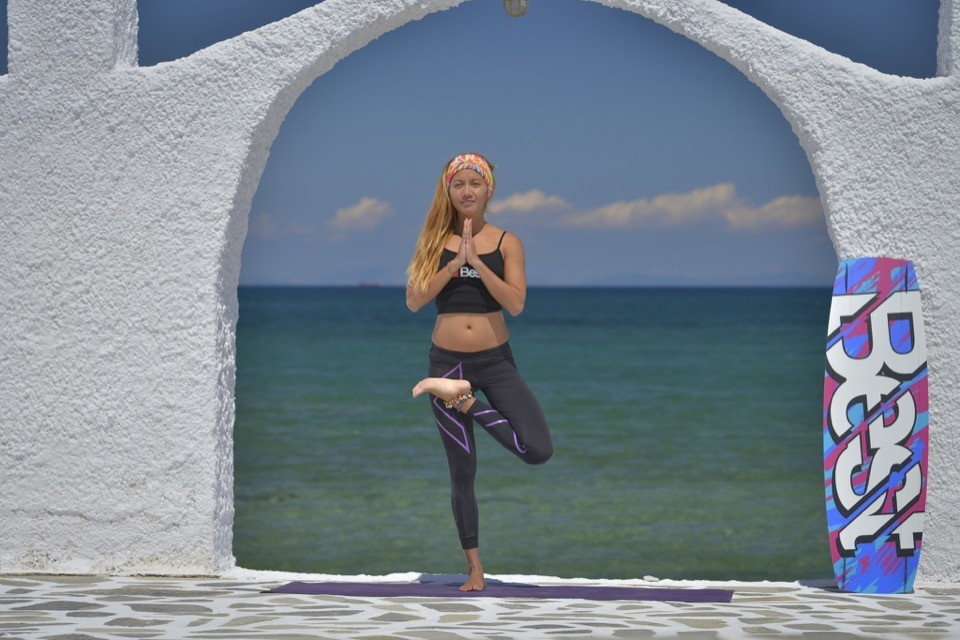
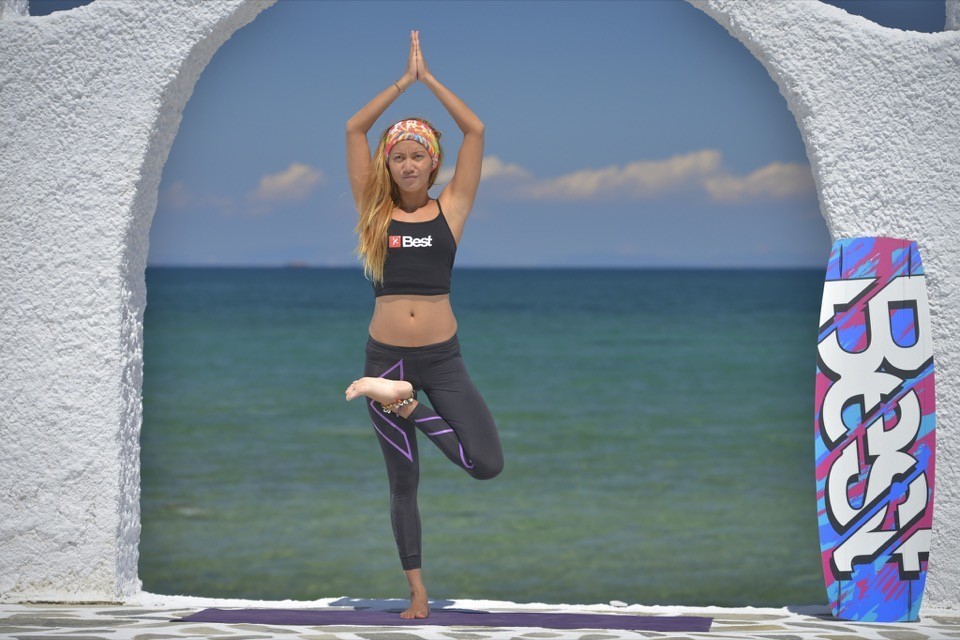
As an addition you can further modify your pose by putting your hands in prayer, then lifting it up. Since gazing at one point in front you helps your stability try to close your eyes to keep your internal body balance. You can hold this pose from 10-30 seconds and Don’t forget to do the other side too.
Extra tip for all the poses
To get out of the pose, just follow the same instructions as how you got into the pose on a reverse manner.
Like me and some of my teammates, if you have suffered from any serious or even any minor injury from the past, stretching your muscles especially around the area of your injury should be part of your pre-session routine. Not only does it help you warm up your muscles, it also helps on the continuous recovery of your injuries, which will make the muscles around it stronger as well.
I also encourage you to not just do these stretching exercises without carefully reading the instructions and should be done with outmost care in a VERY, I mean VERY slow movements to get in and out of the pose, it also helps to get your friends and other riders involved in this for a more fun filled pre session stretch out, plus an energized session for sure!
Written by Paula Rosales
Please follow Paula here:
Facebook: Paularosales
Instagram: @Paularosales
Site: www.skurbanista.com